Windows 10 1809 Back to 1803 After Reboot
If you are running into issues with Windows 10 20H2, otherwise known as the October 2020 Update, this guide will explain how to roll back to your previous version of the operating system.
When upgrading to the Windows 10 20H2 feature update, one of two methods will be used depending on what version of Windows 10 is being upgraded.
If users are upgrading from Windows 10 1909 or older, then Windows 10 20H2 will be installed as a full update, which can only be rolled back within 10 days of being installed.
On the other hand, if a user was running Windows 10 2004, Windows 10 20H2 will be installed via an 'enablement package' that turns on features already part of the operating system but are turned off.
How you upgraded to Windows 10 20H2, though, determines how you can uninstall and roll back to a previous version of Windows. Below, we have provided two different methods to uninstall Windows 10 20H2, the October 2020 Update, depending on your previously installed version.
How to uninstall Windows 10 20H2 and rollback to v2004
If you upgrade to Windows 10 20H2 from Windows 10 2004, you would have done so through a small enablement package that enables features already installed on the operating system.
You can uninstall the Windows 10 20H2 enablement package to roll back to Windows 10 2004 by following these steps:
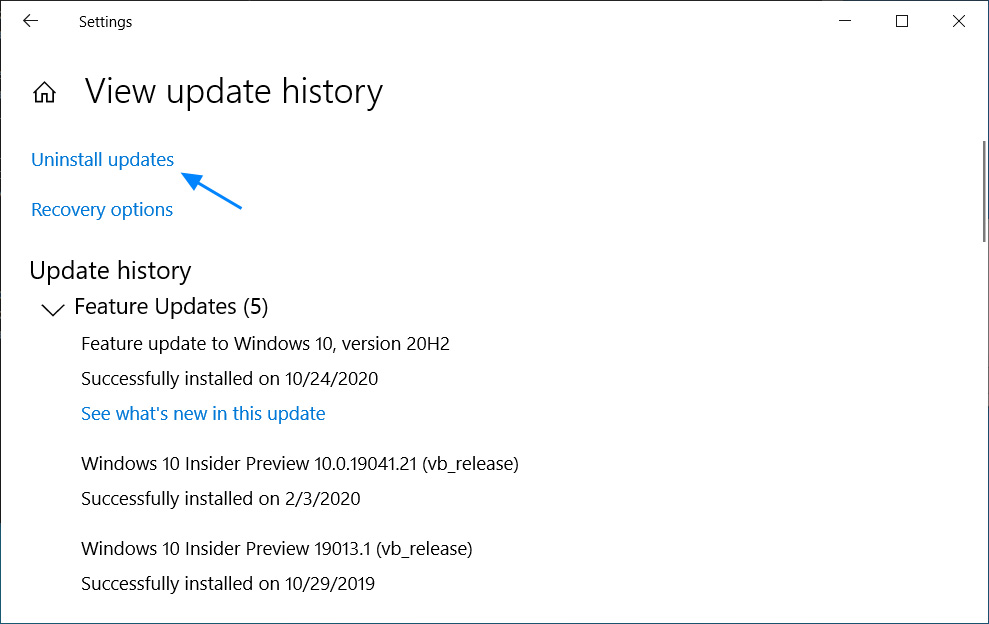
- Go to Start > Settings > Update & Security > Windows Update > View update history > Uninstall Updates, as shown below.
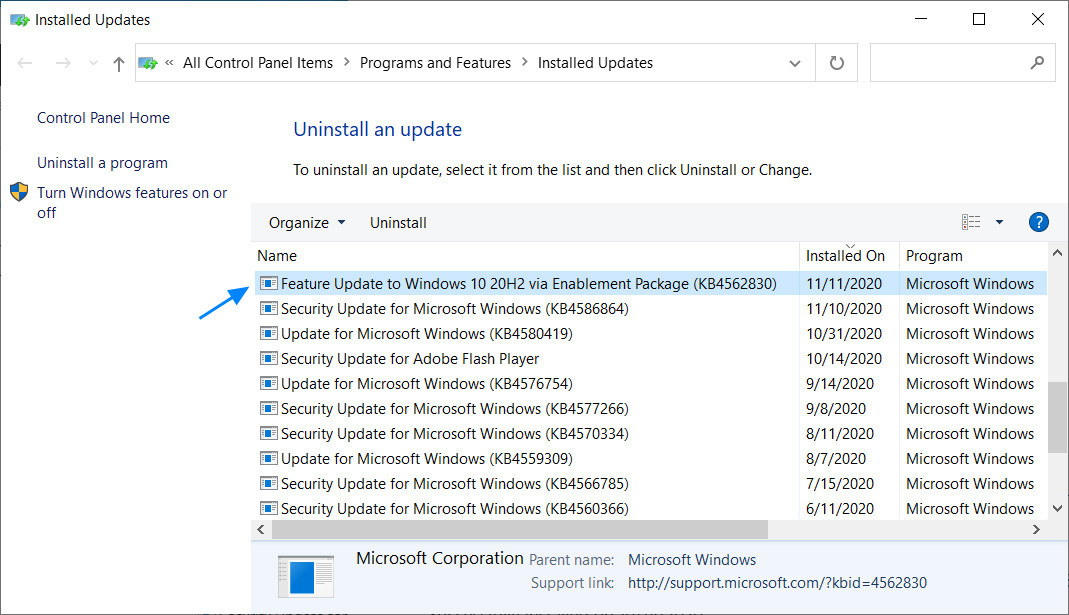
View update history settings page - When the 'Uninstall an update' screen opens, search for the "Feature Update to Windows 10 20H2 via Enablement Package (KB4562830)' update and left-click on it once, so it's selected.
Once you click on it, an Uninstall button will be displayed that you should click on to uninstall Windows 10 20H2.
Uninstall the KB4562830 Windows 10 20H2 enablement package - After clicking on the Uninstall button, you will be asked if you are sure you wish to "Uninstall this update." Click on theYesbutton to continue.
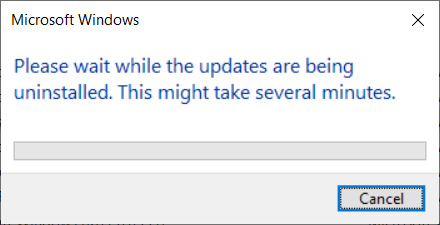
- You will now be shown a small dialog box that asks you to wait while the enablement package is uninstalled.
Waiting while Windows 10 20H2 is uninstalled - When it has finished uninstalling, you will be prompted to restart Windows 10. Click on theRestart Now button to continue.
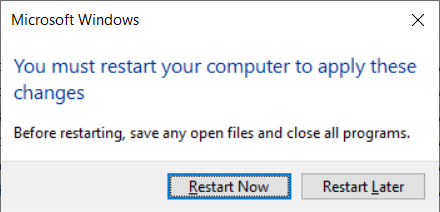
Prompt to restart Windows 10
After Windows restarts, Windows 10 20H2 will be uninstalled, and you will be back at Windows 10 2004.
How to uninstall Windows 10 20H2 and rollback to v1909 or older
If you upgraded to Windows 10 20H2 from Windows 10 2009 or older, then a full update was used to install the new operating system.
It should be noted that you can only uninstall Windows 10 20H2 and roll back to a previous version if you are within ten days of installing the feature update. If it has been 10 days or later, the 'Get started' button will be grayed out, and you will not be able to select it.
If you wish to uninstall Windows 10 20H2, you can use the following steps:
- Go to Start > Settings > Update & Security > Recovery.
- At the recovery screen, click on the 'Get started' button under 'Go back to the previous version of Windows 10.'
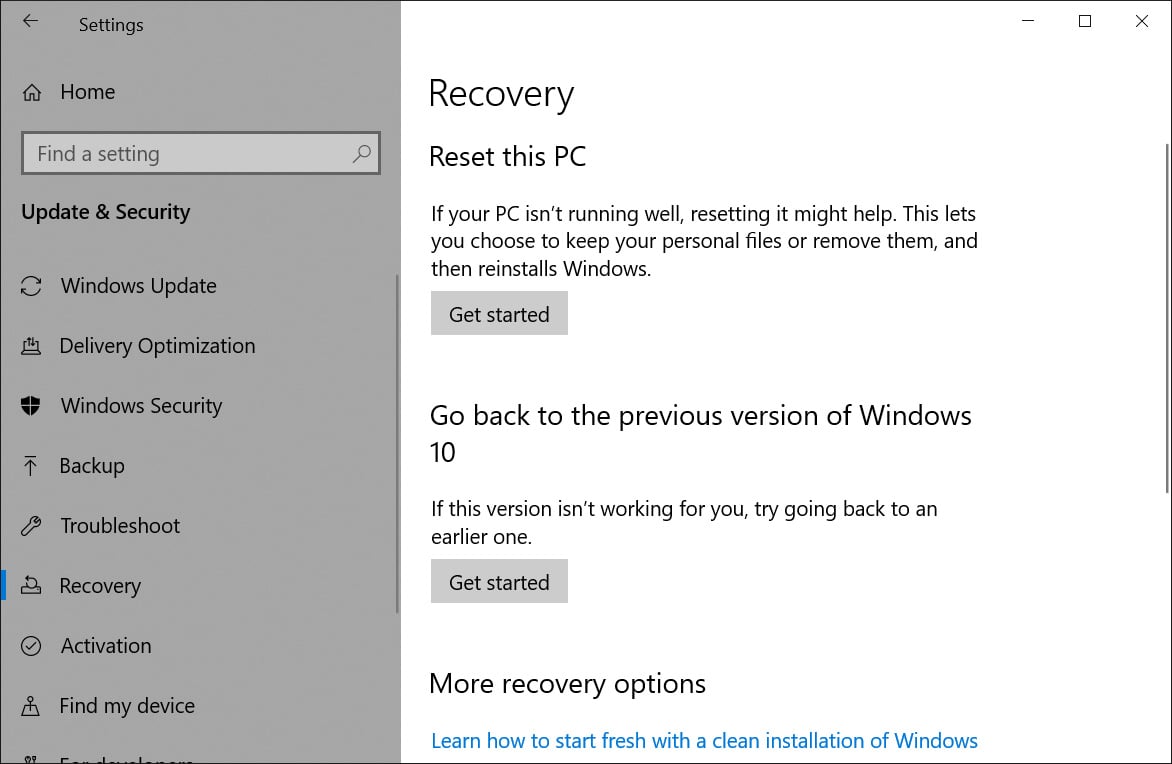
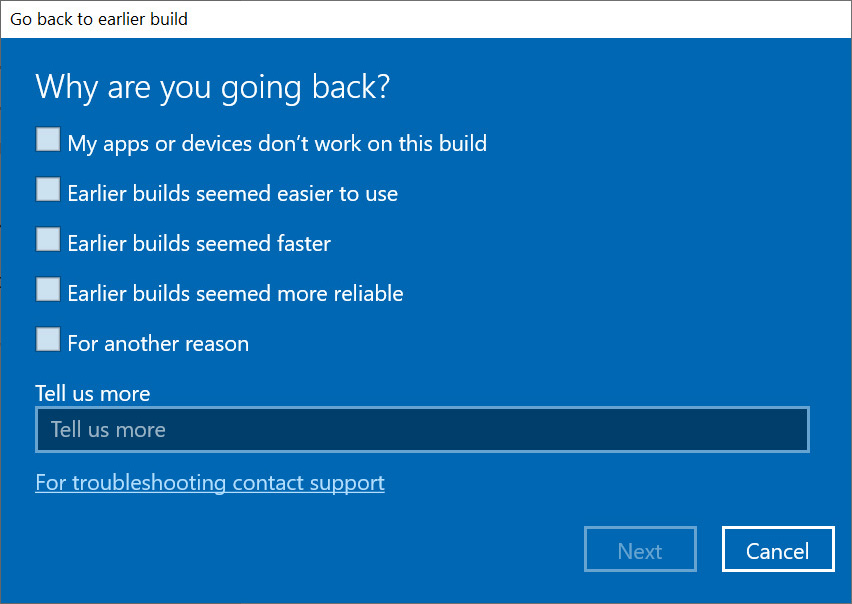
Recovery settings screen - You will now be asked why you are uninstalling Windows 10 20H2. This information is sent to Microsoft so they can learn what problems people are having. When ready, click on theNext button.
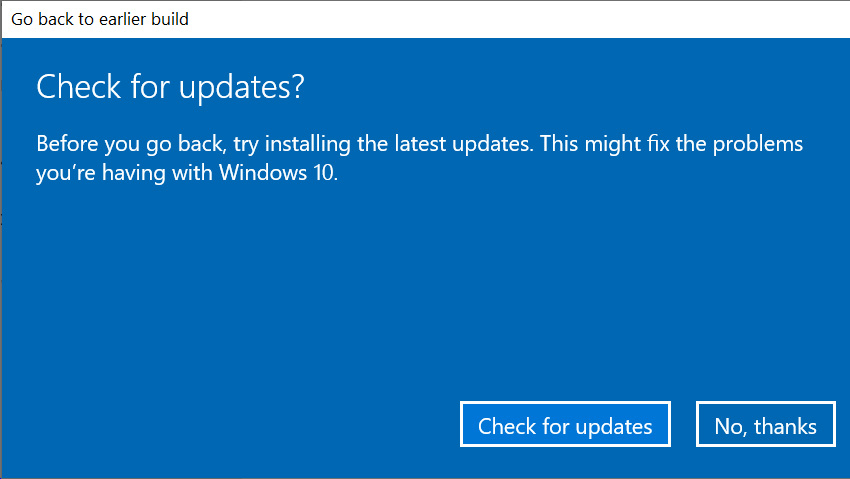
Why are you uninstalling Windows 10 20H2 screen - As a final, last-ditch effort to keep you on Windows 10 20H2, you will be asked to check for new updates and see if that fixes the problem. If you wish to continue rolling back to the previous version, click on the 'No, thanks' button.
Checking for new updates screen - You will now be at a screen with instructions on how the uninstall works and what you may have to do after. When ready, click on theNext button.
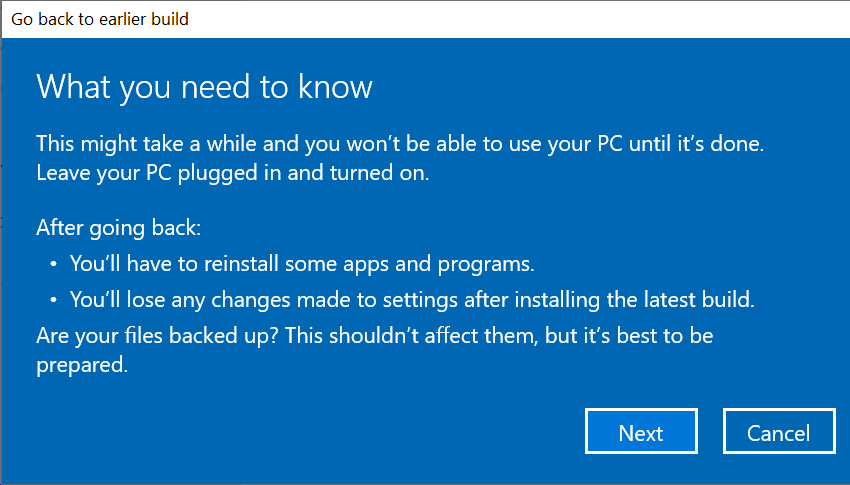
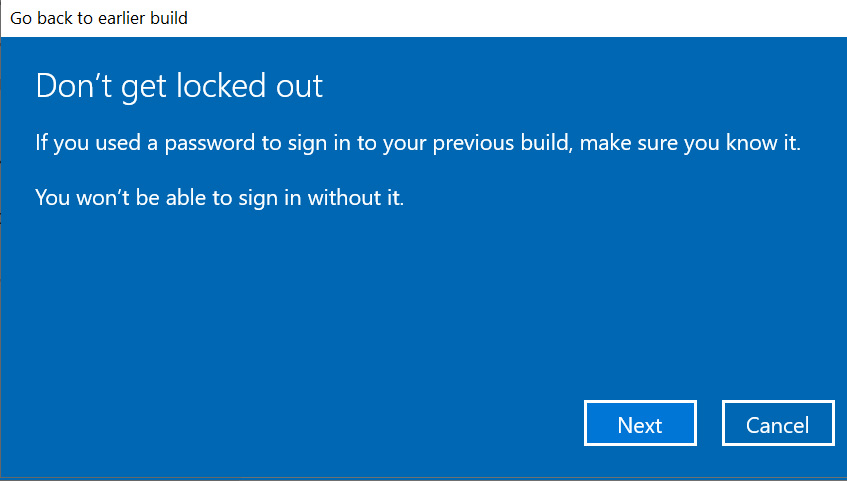
Last-minute instructions screen - You will now be prompted to make sure you know your password as you will need it to login after the uninstall. Press theNext button to continue.
Reminder to make sure you know your password - Finally, you will be thanked for trying the new build and prompted to continue with the uninstall of Windows 10 20H2. If you continue, the computer will be rebooted, and Windows 10 20H2 will be uninstalled.
After rebooting, you will now be rolled back to your previous version of Windows 10.
Windows 10 1809 Back to 1803 After Reboot
Source: https://www.bleepingcomputer.com/news/microsoft/how-to-uninstall-and-downgrade-windows-10-20h2-to-previous-versions/
0 Response to "Windows 10 1809 Back to 1803 After Reboot"
Post a Comment